You might be thinking, “Halfway Lift … wtf?” Because you’re right, Halfway Lift is kind of a weird name. But if you’ve been to a yoga class, you’re likely all too familiar with this common, transitional pose that teachers will call out, ahem, like so:
Inhale, arms overhead
Exhale, fold forward
Inhale, halfway lift!
Exhale, fold back in
It’s not a pose that really gets “taught” but rather breezed through in the midst of sun salutations. In my opinion, that’s a miss opportunity because there really is a lot of good stuff to think about and feel and slow down to enjoy in this posture.
So, without further ado, keep reading below for all the juicy goodness of halfway lift!
Everything You Need to Know About Halfway Lift
Sanskrit name: Ardha Uttanasana
Pose benefits: Improves posture, stretches the entire torso and front of the chest, great exercise for shoulder integration and lengthening the neck
Precautions: Neck or back injuries (always consult your doctor before beginning a new exercise program)
1. How to Find Halfway Lift
From your forward fold, root down through your feet and bring your hands up to your shins (make sure you’re not locking out your knees)
Draw your shoulder blades together, pull the low belly in towards your spine, and reach the crown of your head forward
Keep the neck nice and long, gaze is down at the floor below you (not forward)
Draw your ears back in line with your shoulders (like you’re trying to give yourself a double-chin) to really emphasize the elongation of the spine and neck
Notice if your hips are leaning forward—see if you can send your hips back so that they’re stacked above your ankles, even as you’re stretching your upper body forward
Traditionally, in yoga, this pose is done on the inhale … exhale to fold forward, inhale to halfway lift. Try it several times with the breath cues and see how it feels
2. Modifications and Variations
If you have tight shoulders and can’t seem to feel the sensation of drawing your shoulder blades together down your back, try bending your elbows and bringing your hands all the way up to the tops of your thighs

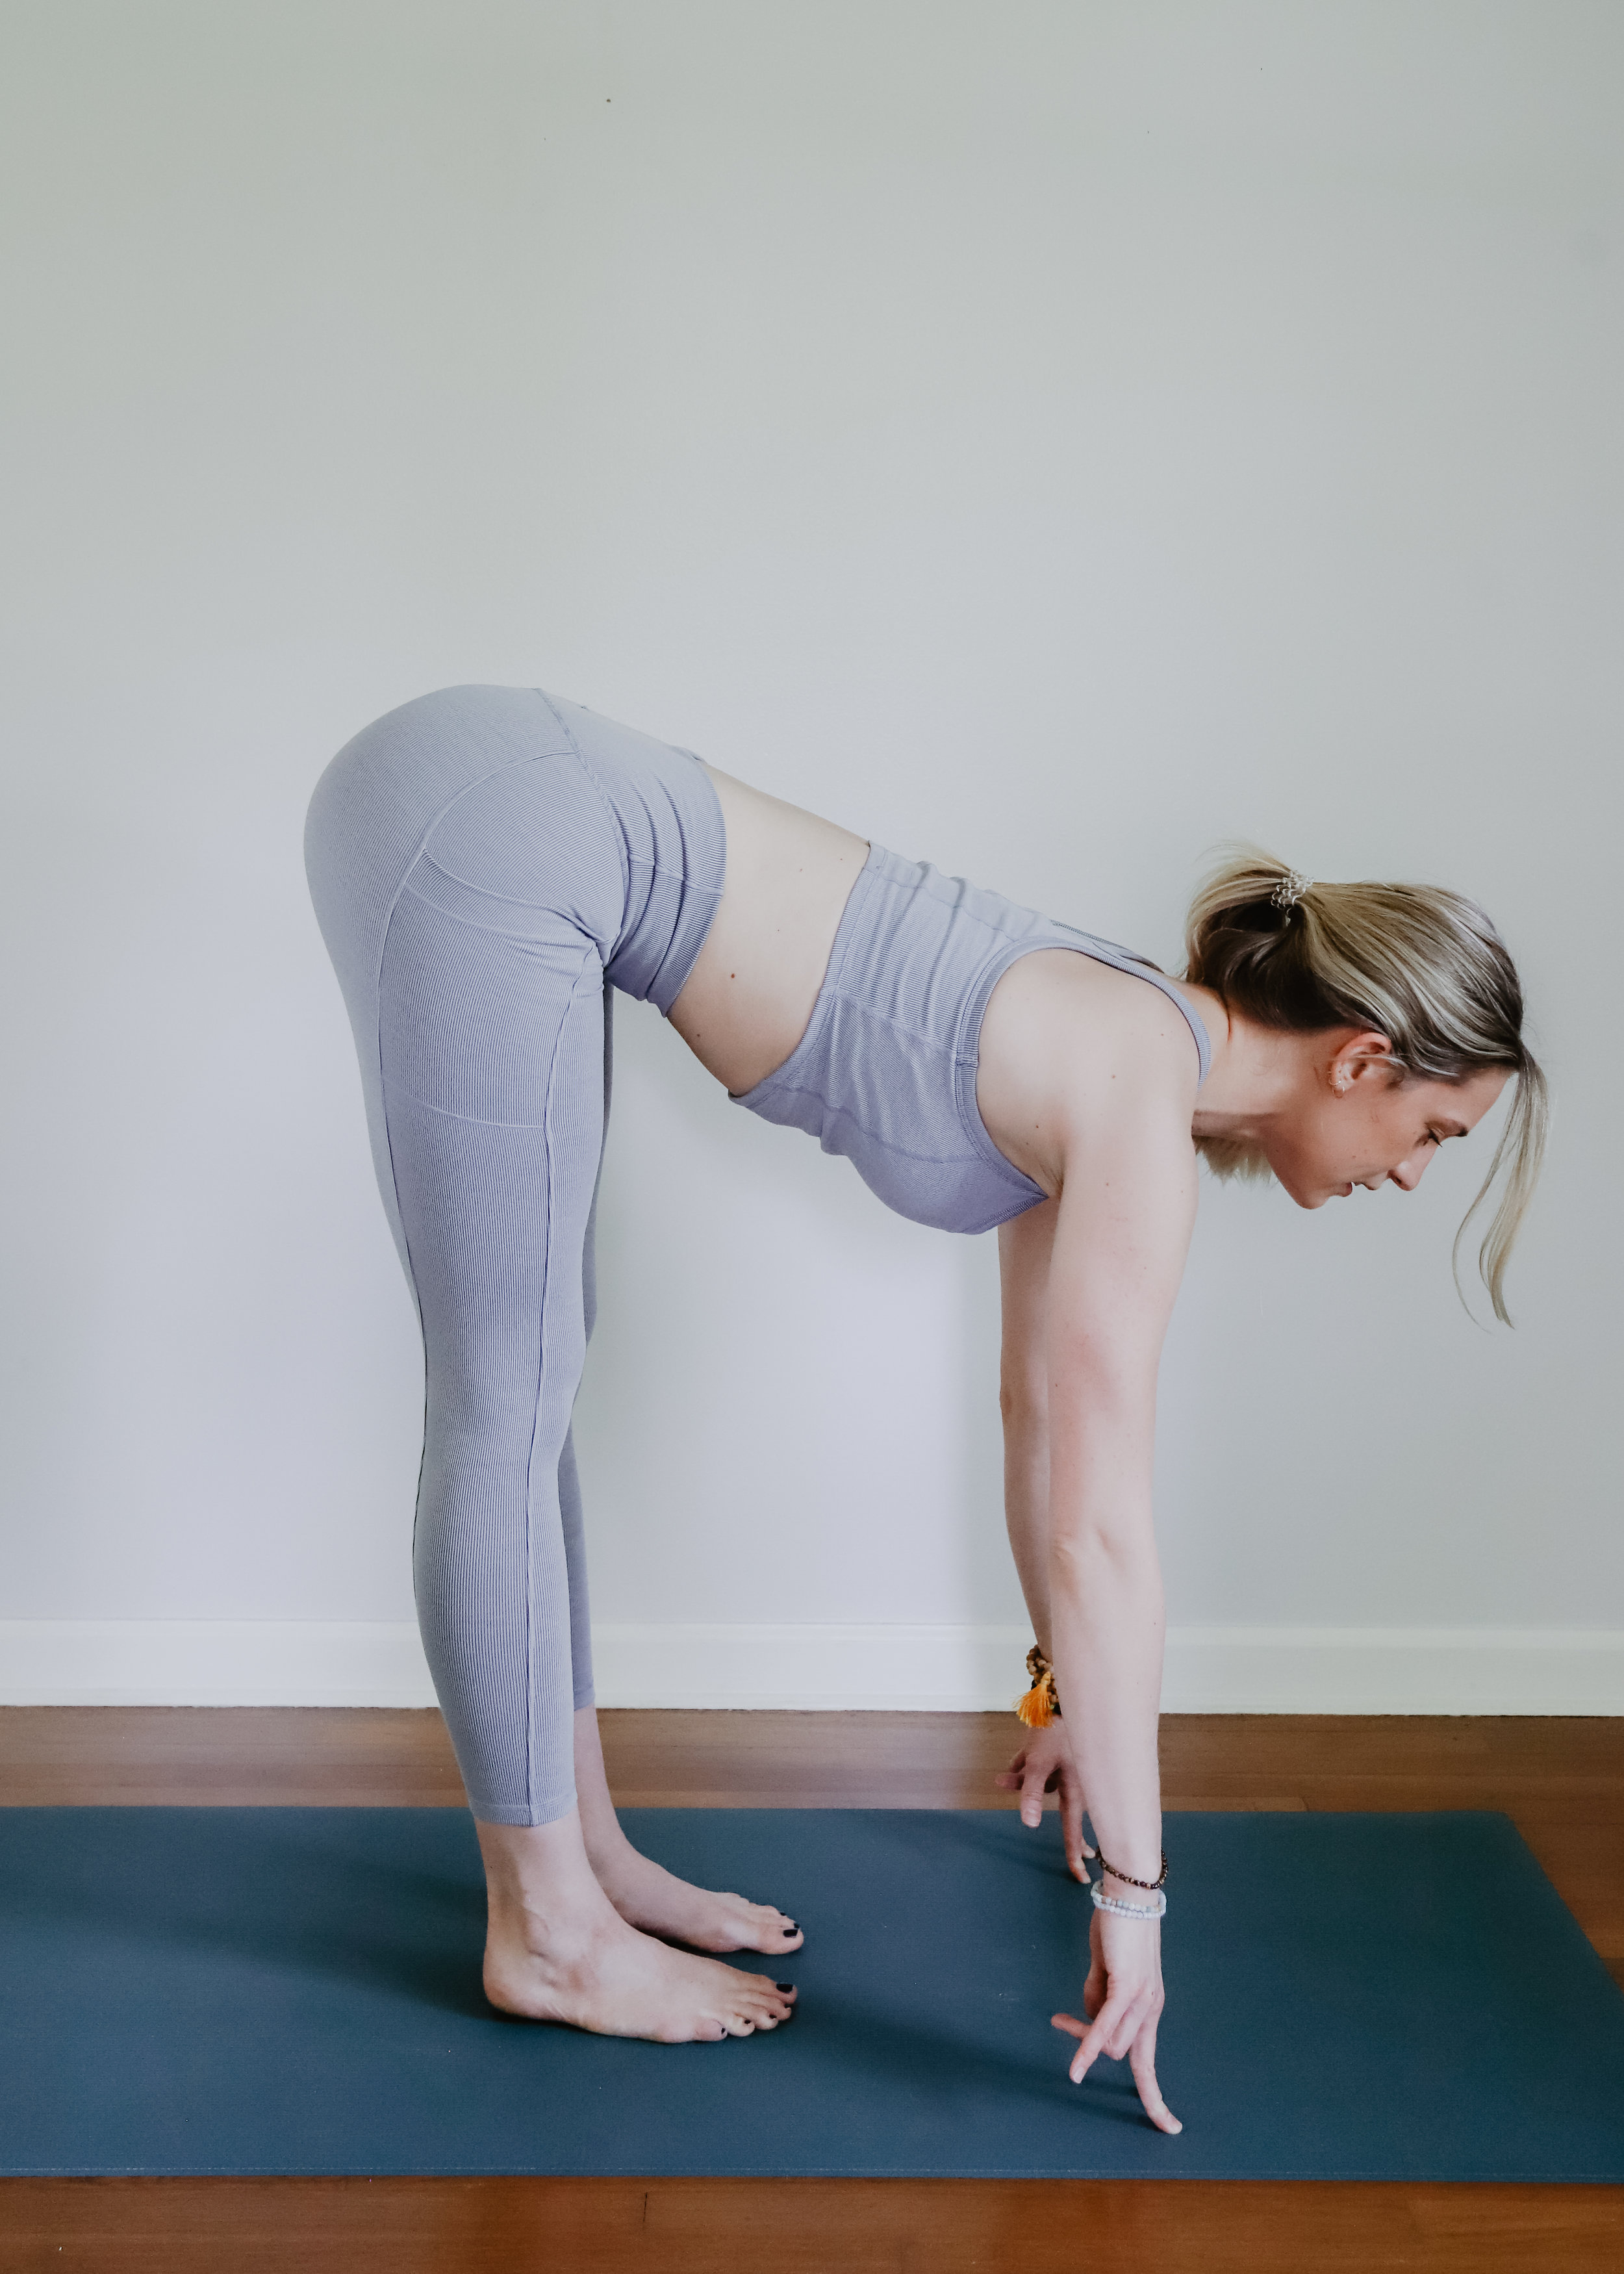
For a more advanced version, lift up halfway by bringing your fingertips to the floor in front of your feet—helpful if you’re working on jumping back to chaturanga or deepening your forward folds. That said, don’t sacrifice shoulder mobility :) it’s not worth it!
3. Bonus Tips & Tricks
Just like in forward fold, you can bend your knees a lot in this pose! Try it out, it can feel really good if you’re working tight shoulders and/or tight hamstrings
Also, just like in forward fold, you can play around with taking a wider stance to give your lower back a little more space to elongate
Alright, there you go! Enjoy :) and if you’re looking for more pose breakdowns like this one, check out my other tutorials below: