I have a love-hate relationship with Four-Limbed Staff Pose, or as it’s more often called, Chaturanga.
It’s essentially a “half pushup”—a position in which the entire body is working, especially the shoulders, triceps, and core.
During my yoga teacher training, I learned this pose is often referred to by teachers as “the shoulder shredder” because it so frequently leads to shoulder injuries and other issues in the shoulder girdle. Personally, I’ve been struggling with a shoulder injury myself. I can tell you from experience that doing this pose over and over again without proper strength, alignment, and muscle engagement can cause quite a bit of discomfort in the neck, shoulders, upper-back, and arms.
Cool.
Now, I don’t say all of that to scare you away from the pose. Not at all. Chaturanga is an element of sun salutations and is an empowering and strength-building posture that I can’t wait to bring back into my own practice. Until then, however, you’ll see me skipping Chaturangas altogether or modifying with Knees-Belly-Chest (pictured above) variations.
Let’s dive into both versions of the pose below so you can practice Chaturanga and Knees-Belly-Chest with power and integrity.
Everything You Need to Know About Four-Limbed Staff Pose
Sanskrit name: Chaturanga
Pose benefits: Strengthens and stabilizes the entire body, especially the arms, abdominals, and lower back; prepares your body for arm balances, inversions, and other more advanced poses
Precautions: Wrist or shoulder injuries (always consult your doctor before beginning a new exercise program)
1. Begin in Plank Pose
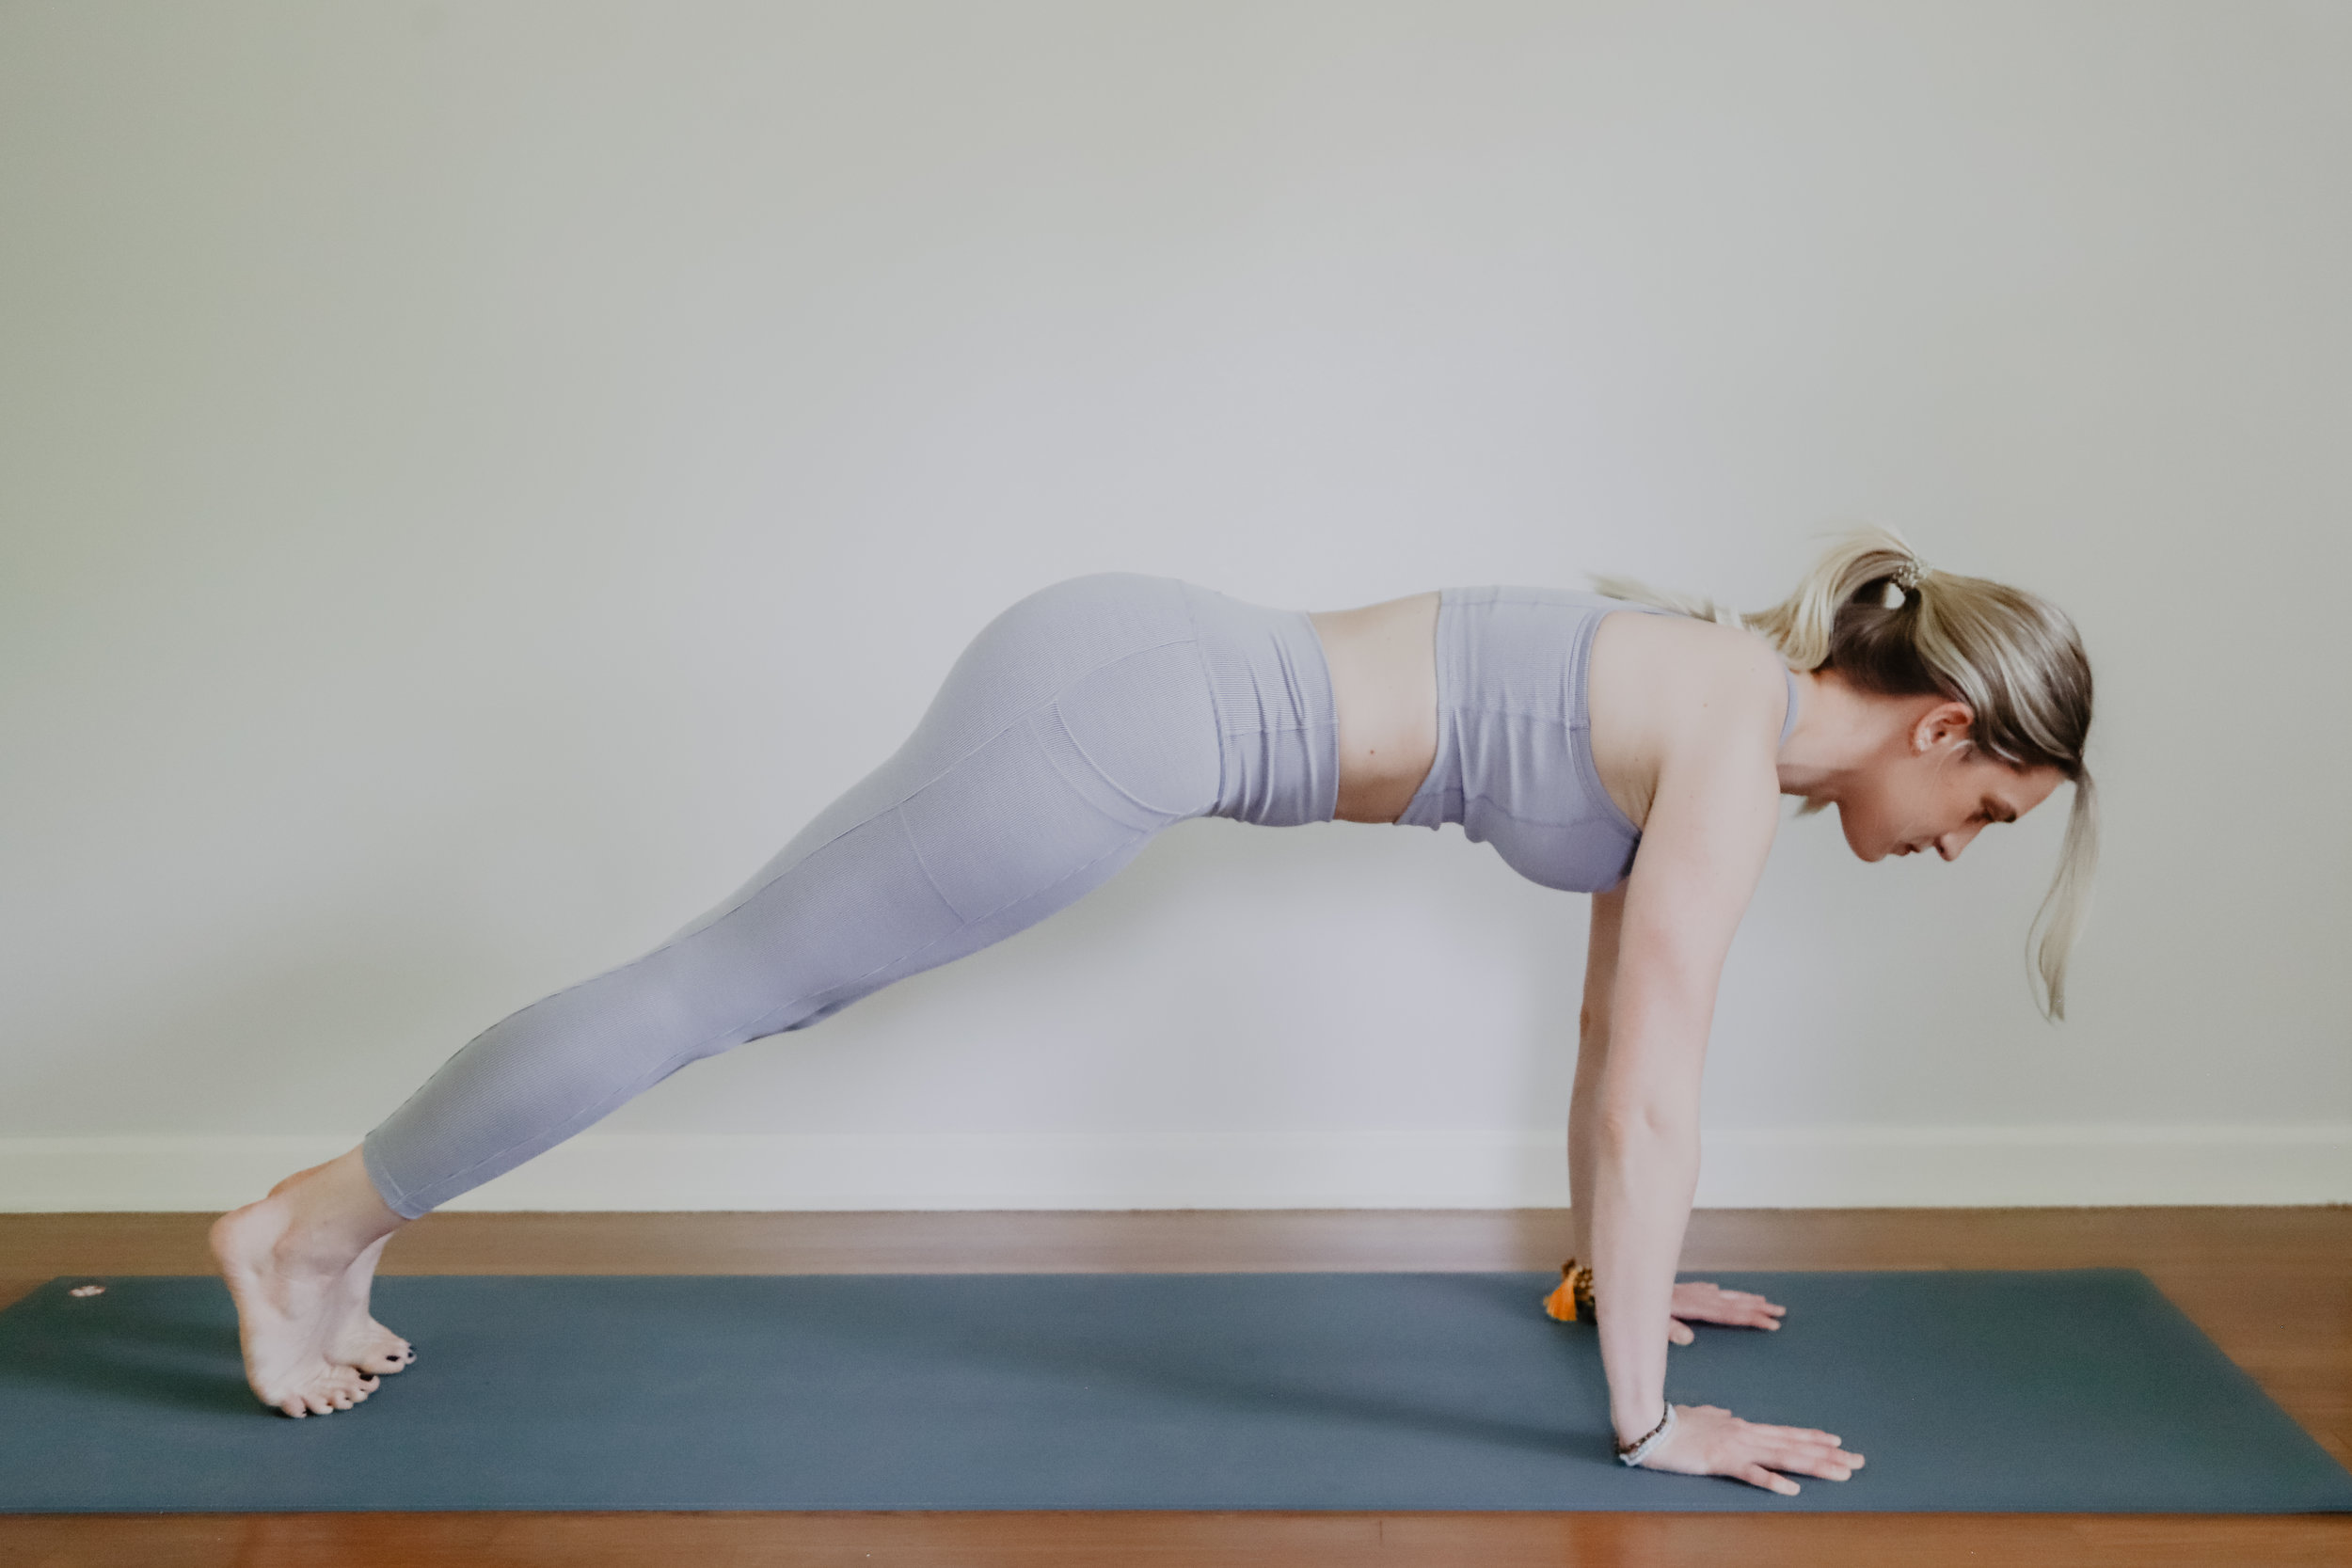
From Downward Facing Dog, shift forward into a high plank posture
Notice if your shoulders are crunched up by your ears—see if you can roll them away from your ears, gliding your shoulder blades down your back
Notice if you need to lengthen your stance like I do in the photo above—my butt is just a little too high in the air! To correct it, I could walk my toes back a couple of inches or walk my hands forward
Lower your hips a little bit to create one long line of energy all the way from the crown of your head down to your heels—your torso is a plank!
Press away from the yoga mat with your hands and spread your shoulder blades apart, this will activate the outer arms
Hug your navel in towards your spine and engage the entire abdominal wall—embrace the shake!
Legs should also be working—squeeze the glutes and tuck the tailbone slightly to fire up both legs—press back through the heels
Make sure to keep the neck nice and long—take all the wrinkles out of the back of your neck by keeping your gaze down at the top edge of your mat or just past it
For a modified plank, simply shift into a high plank posture and then lower the knees down onto the mat
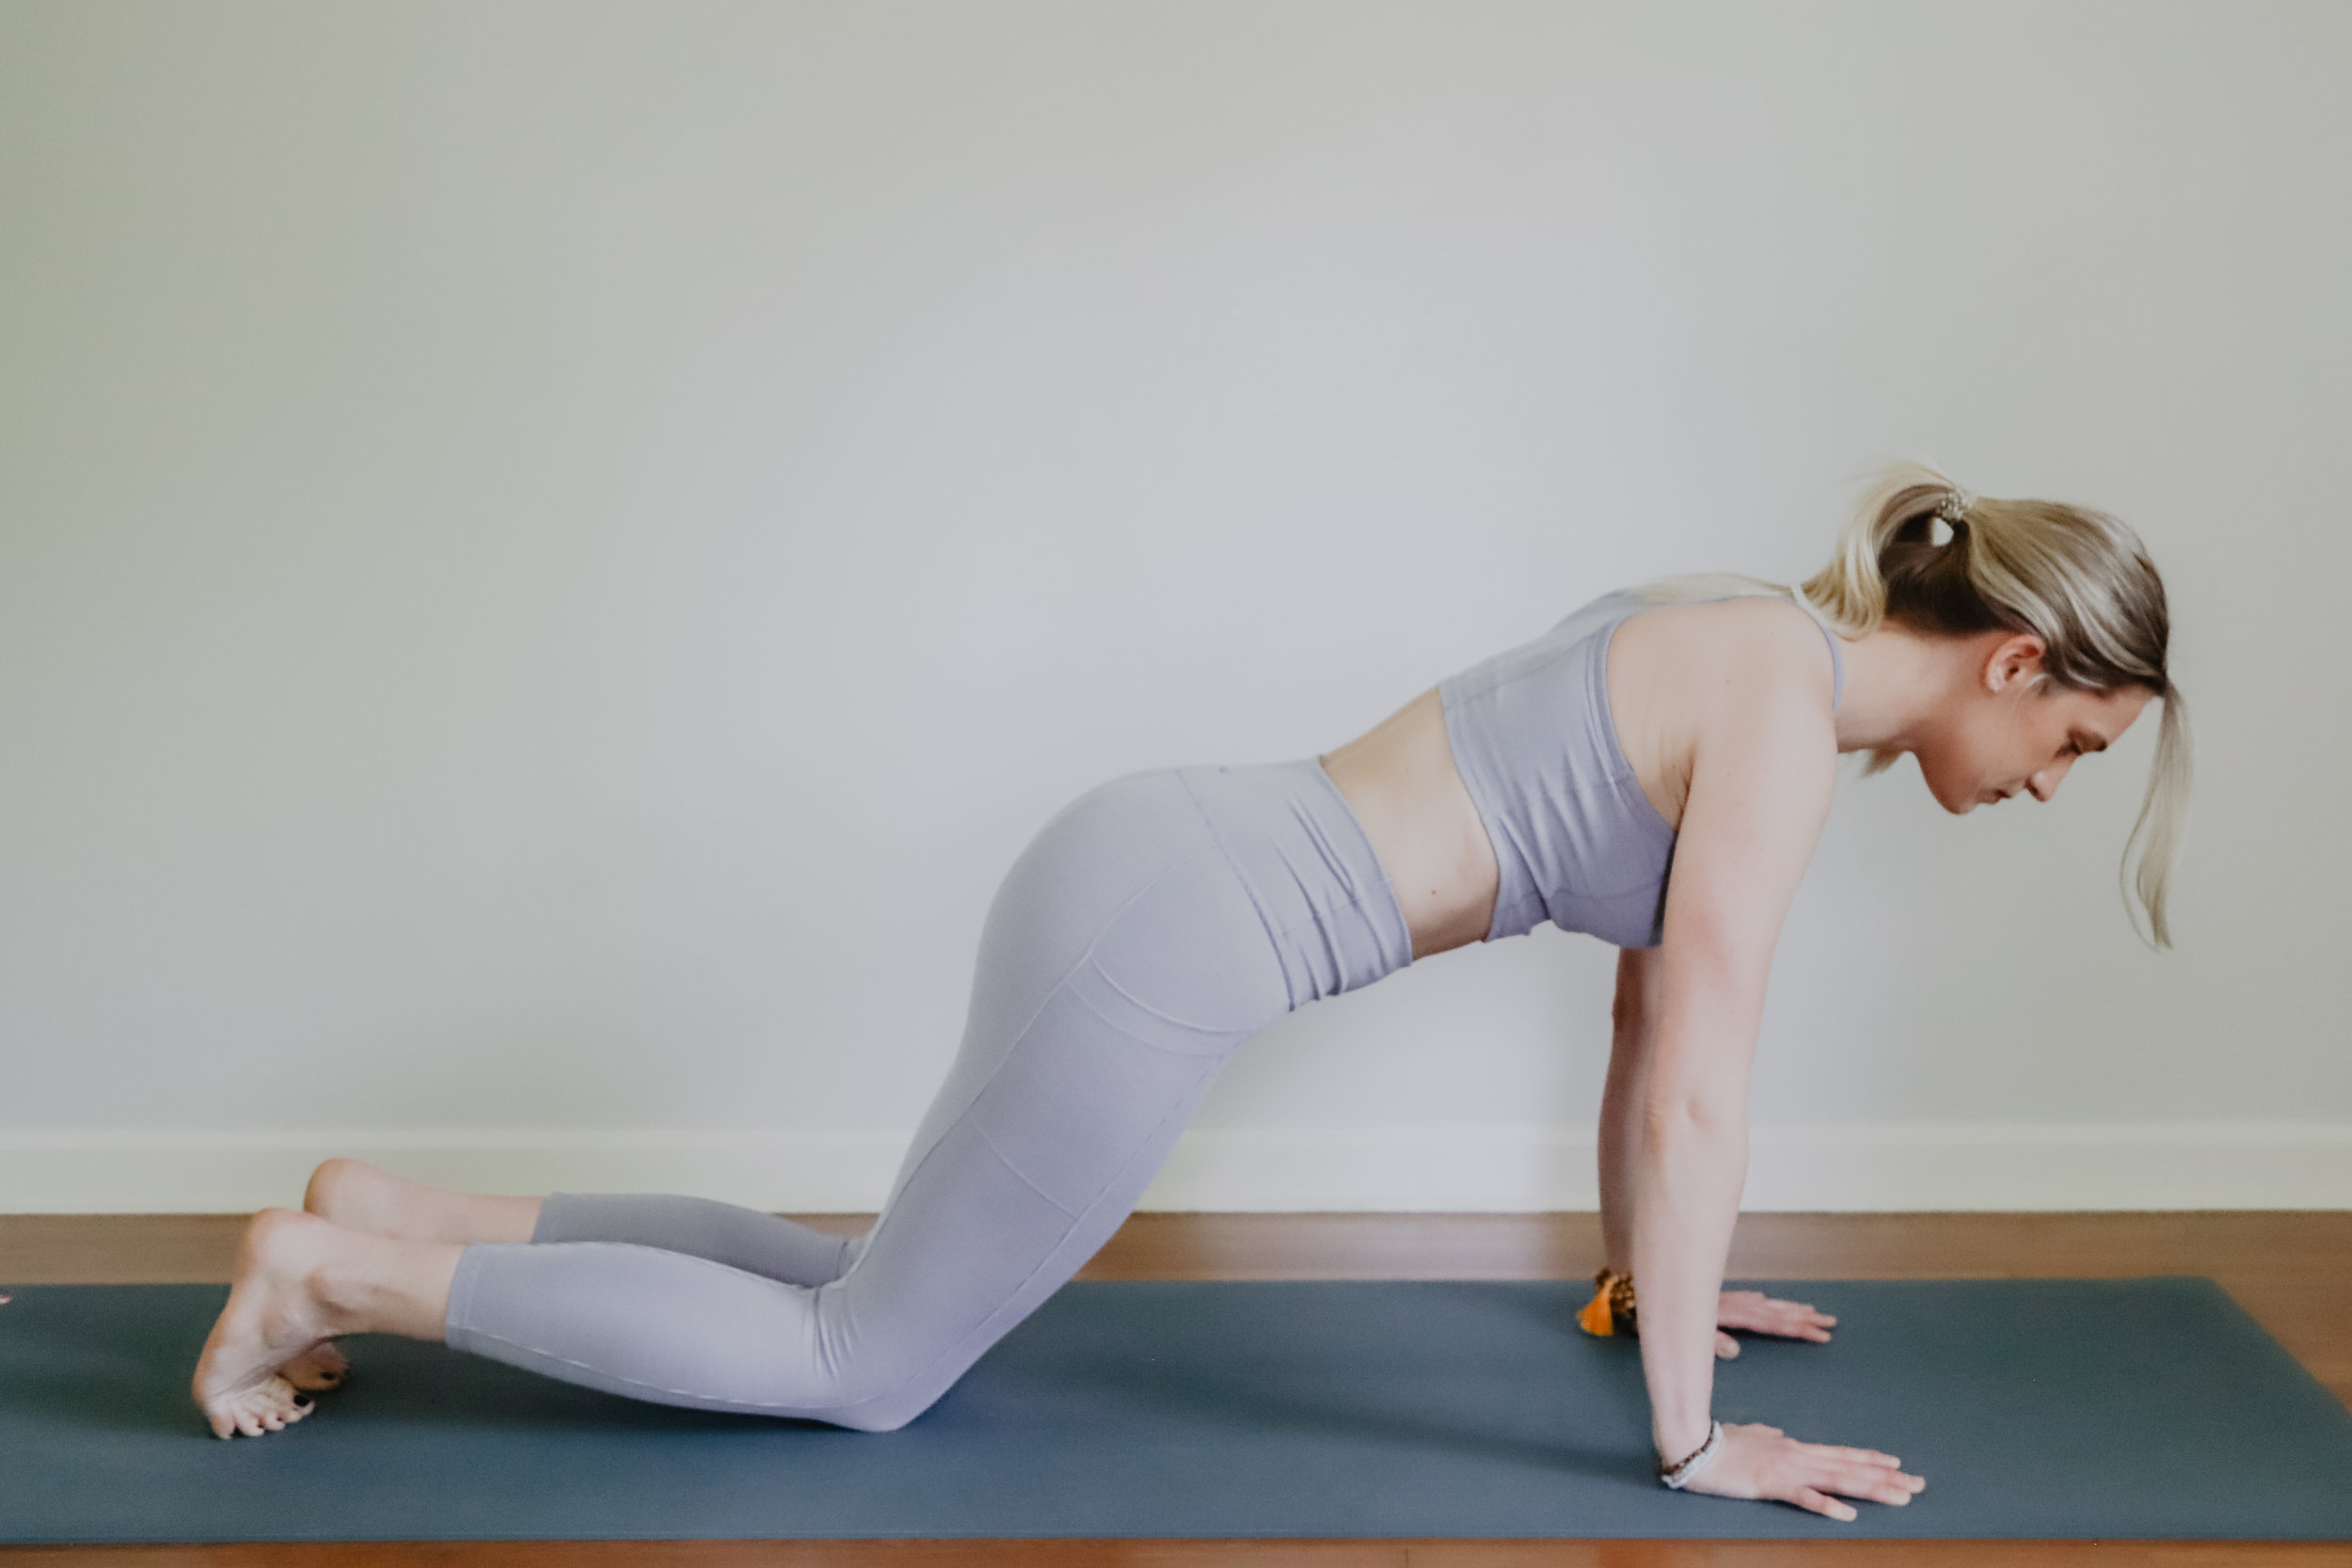
All the same principles as above apply in modified plank
PSA: There is nothing wrong with modifying! It’s a much smarter decision to build strength in modified versions than injure yourself in versions that don’t serve where you are right now … it’s a journey, meet yourself where you are.
2. Lower through Chaturanga or Knees-Belly-Chest
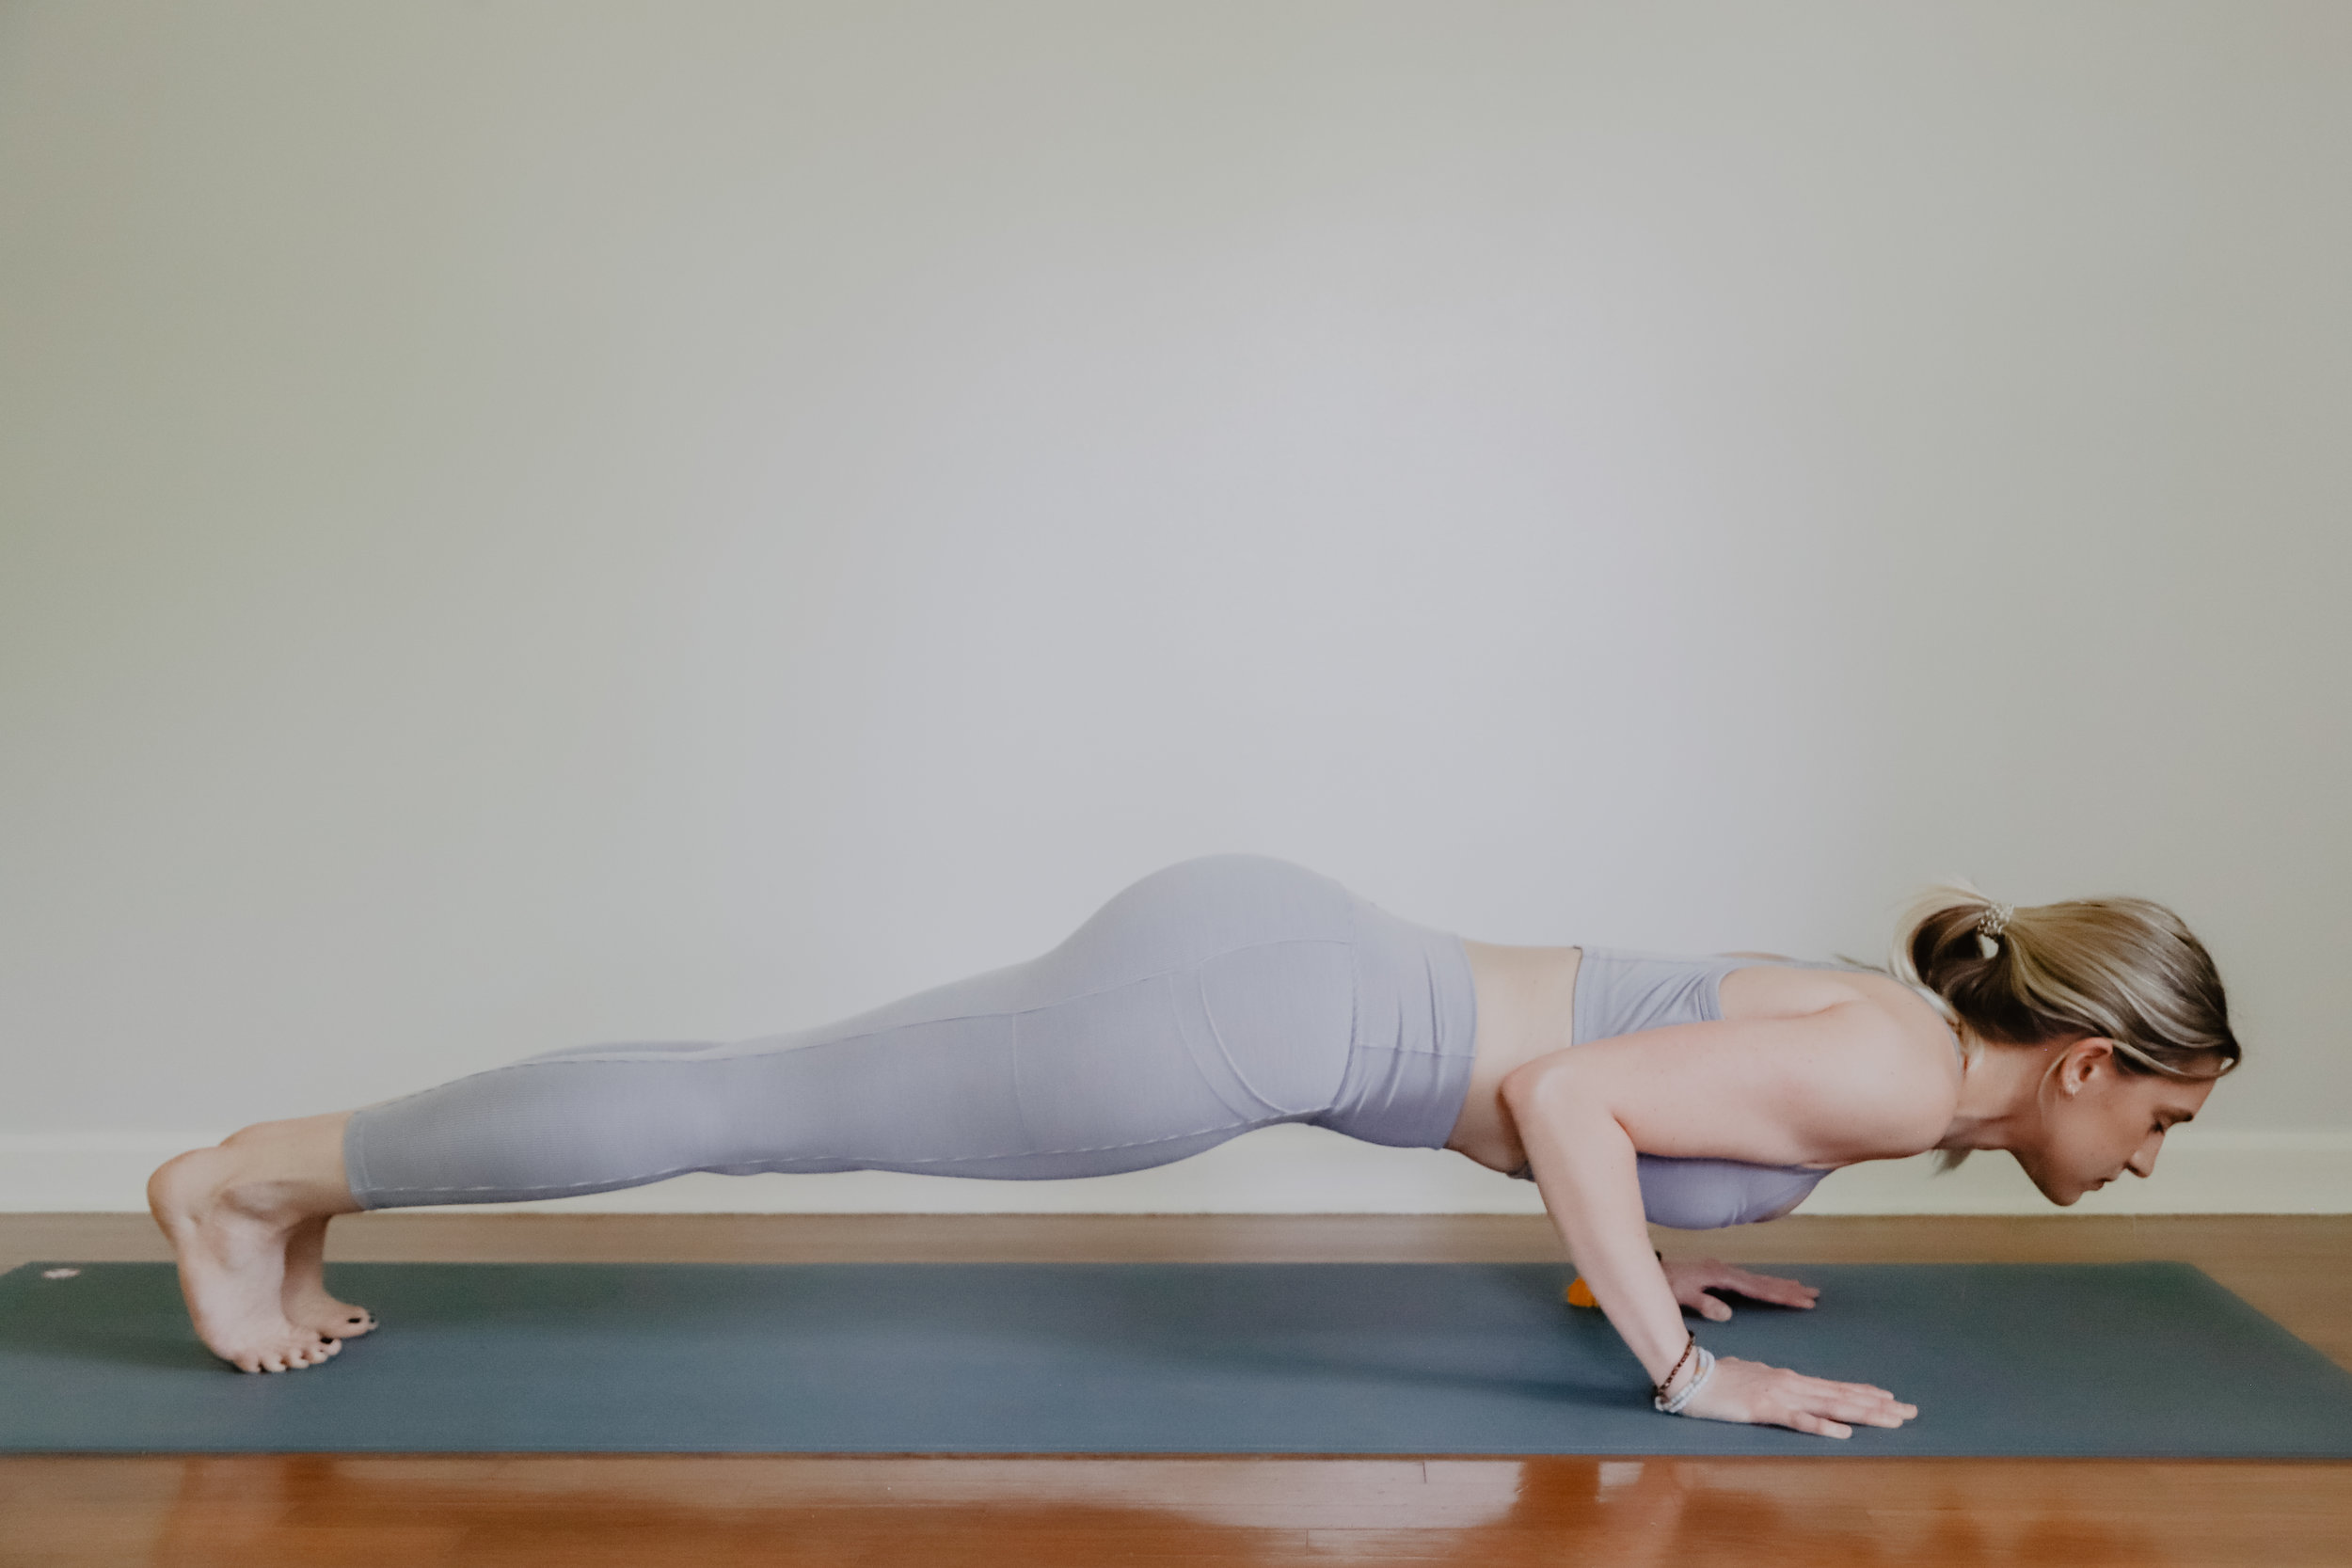
From your high plank position, shift your weight forward coming high on the toes
Begin to lower down through a push-up by bending the elbows back
Keep the elbow shooting straight back and keep hugging your arms into your sides—full body muscle engagement here!
Only lower halfway—your shoulders and elbows should be in the same line (e.g. don’t let your shoulders dip)
When you get halfway down, transition to Upward Facing Dog or lower all the way down to your belly to rest
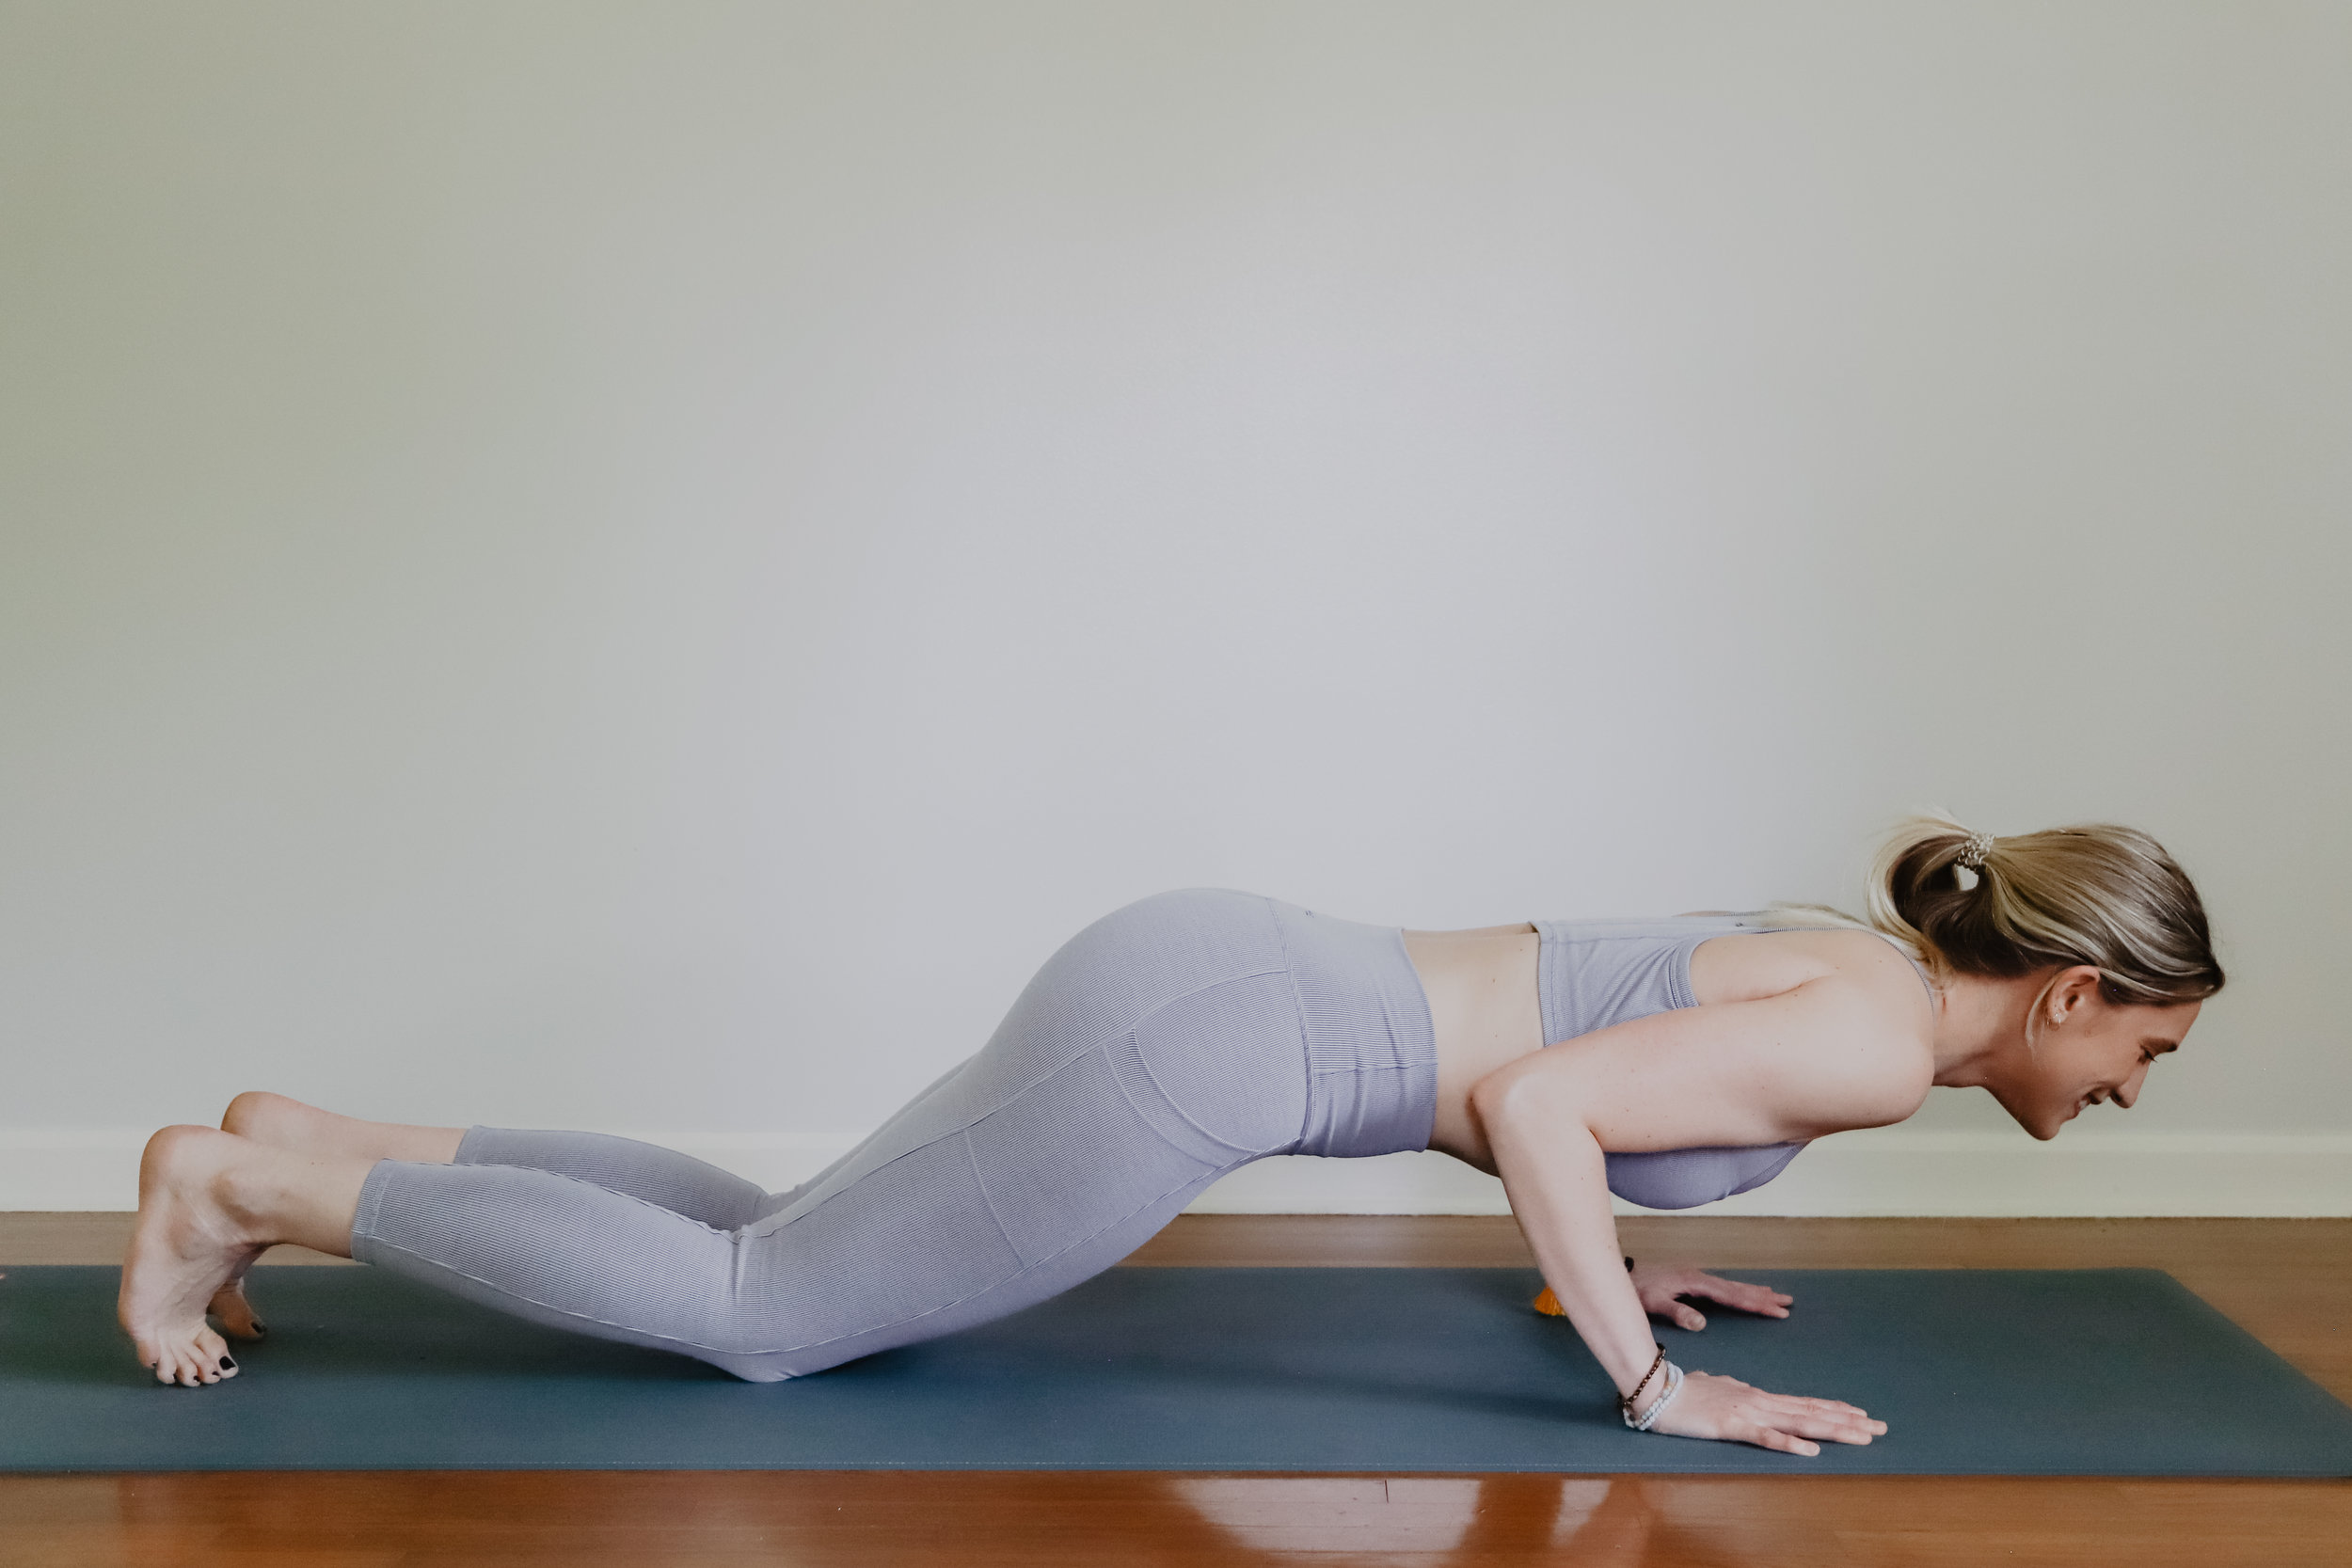
The same principles apply for Knees-Belly-Chest, only your knees will stay down
Use the extra support of your knees to lower down slowly, really working the triceps and using core engagement to keep your body strong and safe (navel to spine lower abdominal engagement!)
In Knees-Belly-Chest you’ll lower all the way down to your belly to transition to Cobra pose or rest
Give this pose tutorial a try and let me know how it goes. If you have any questions, don’t hesitate to comment below!
And if you’re looking for more pose breakdowns like this one, check out the posts below: